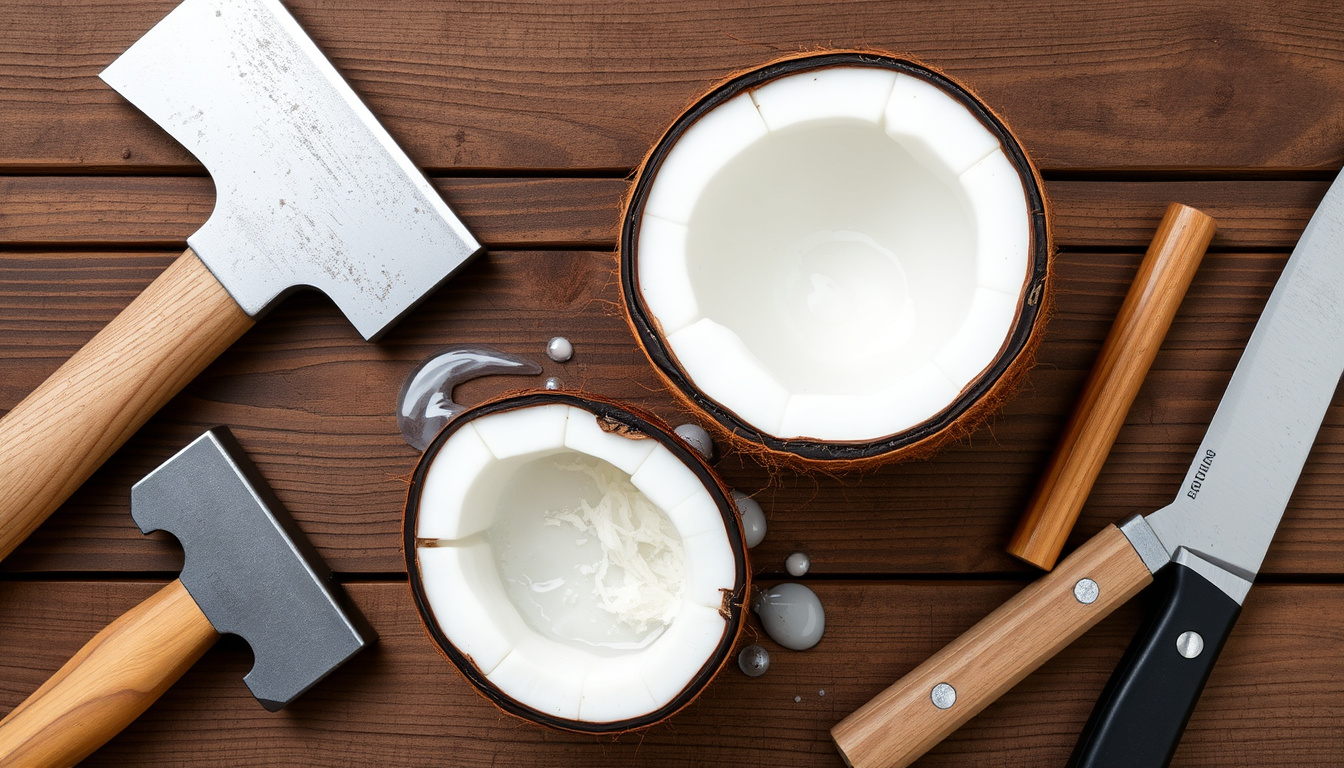

Opening a coconut may seem intimidating at first, but the process becomes straightforward once you understand the anatomy of the fruit and which tools best suit your situation. Whether you are working in a kitchen with a sharp cleaver, outdoors with nothing but rocks, or simply hoping to sip the water from a young coconut, the core steps remain consistent. This guide walks through every major method, explains how coconut type affects your approach, and highlights safety considerations that apply across the board.
Coconuts are classified into two main varieties that demand different opening techniques. Young coconuts, identifiable by their green outer shell, contain abundant water and relatively soft interior surfaces. Mature coconuts, recognizable by their brown, hairy appearance, hold less water but provide thicker, more substantial flesh. Recognizing which type you have determines whether you should focus on accessing the liquid or cracking through a harder shell.
Choosing the Right Method for Your Situation
The technique you choose depends on the tools available, your desired outcome, and the coconut type in hand.
| Method | Tools Needed | Estimated Time | Best For |
|---|---|---|---|
| No tools | Rocks or hard surface | 5–10 minutes | Survival situations, outdoors |
| Knife or cleaver | Sharp knife, towel | 2–5 minutes | Kitchen preparation |
| Screwdriver method | Screwdriver, bowl | 5 minutes | Drinking coconut water |
| Spoon or fork | Metal utensils | 3–5 minutes | Minimal shell damage |
Before you begin any method, the first critical step involves draining the coconut water. This reduces internal pressure, makes the fruit easier to handle, and preserves the liquid for drinking or cooking. Locate the three soft spots, known as eyes, on one end of the coconut. These indentations mark the thinnest points of the shell. Piercing two or three of them with a screwdriver, skewer, or sharp object allows the water to escape into a waiting bowl.
A few key insights emerge from tested approaches: draining first makes cracking significantly easier; mature and young coconuts require fundamentally different strategies; eye protection matters when force is involved; the eyes themselves serve as reliable entry points regardless of method; and opened coconut flesh keeps three to five days refrigerated.
| Fact | Detail |
|---|---|
| Eye location | Three soft spots clustered on one end |
| Water volume | 0.5 to 1 liter in young coconuts |
| Shell thickness | Varies significantly by maturity level |
| Primary safety risk | Sharp shell fragments when cracking |
| Nutritional note | Coconut water contains natural electrolytes |
| Refrigerated shelf life | 3 to 5 days once opened |
How to Open a Coconut Without Tools
Opening a coconut without any manufactured tools requires resourcefulness and patience. This approach suits camping scenarios, remote locations, or situations where kitchen implements are unavailable.
Begin by draining the water through the eyes using a pointed rock or sturdy stick if a screwdriver is not at hand. Strike the eye area repeatedly until the soft spots give way and the liquid flows out. Once emptied, the coconut becomes significantly lighter and easier to maneuver.
The next phase involves striking the shell against a hard surface. Concrete, large rocks, stone steps, or brick walls all serve this purpose effectively. Hold the coconut at a comfortable height and bring it down firmly against the chosen surface. Some practitioners recommend wrapping the coconut in a cloth or placing it inside a bag to contain shell fragments during this process.
Another variation involves surrounding an upright coconut with smaller rocks, then using a larger liftable stone to strike downward. The surrounding stones help distribute force and guide the cracking. Rotating the coconut and continuing to strike around its equator eventually produces clean breaks along fracture lines in the shell.
No method has demonstrated reliably opening a coconut in three seconds without tools. Any claim promising such speed typically results in uneven splits, shell fragments in the flesh, or ineffective cracking. Patience during the process yields cleaner results and reduces waste.
How to Open a Coconut with a Knife
The knife method remains the most popular kitchen technique because it delivers speed and control when performed correctly. A sharp cleaver or heavy kitchen knife provides the necessary leverage for splitting the shell cleanly.
After draining the water through the eyes, place the coconut cut-side down on a stable cutting board. Grip the knife firmly by the handle, positioning the blunt back edge against the shell. Strike the blunt edge with the heel of your opposite palm or use a rubber mallet, working around the equator of the coconut in a circular pattern.
As cracks appear along the impact points, continue tapping until the shell separates completely into halves. The inner white flesh should remain largely intact. Use a butter knife or spoon to separate the flesh from the shell, then peel away any remaining brown skin with a vegetable peeler.
Variations Using Common Kitchen Tools
Some cooks prefer placing the coconut in an oven preheated to 190°C (375°F) for fifteen minutes before cracking. The heat causes the shell to expand and creates small fractures that make manual splitting easier. This method works well for those who struggle with forceful striking.
A handsaw offers another alternative for achieving perfectly even halves. After draining, carefully saw around the equator of the coconut, applying steady pressure and rotating as you cut. This technique proves ideal when the coconut will serve as a serving bowl or when presentation matters.
Working on a folded towel prevents the coconut from rolling during impact. Keep a trash bin nearby to contain shell fragments. Eye protection is advisable when using forceful striking techniques.
How to Open a Coconut to Drink
When the primary goal is accessing coconut water rather than the flesh, a gentler approach suffices. Young green coconuts suit this purpose particularly well because their shells remain softer and their water content remains high.
For young coconuts, locate the three eyes at one end of the fruit. These spots yield easily when pierced with a screwdriver, skewer, or even a thick straw. One or two holes typically suffice for pouring or drinking directly. The water inside young coconuts stays clean and requires no straining in most cases.
Mature coconuts require draining through the eyes as well, though the water quantity proves less generous. Insert a screwdriver into each eye until the liquid begins flowing, then invert the coconut over a bowl. Shaking gently helps extract remaining liquid trapped in the chamber. Straining through cheesecloth removes any small shell particles that may have entered during piercing.
Shaking the coconut before opening provides a simple freshness test. Liquid sloshing audibly inside indicates the fruit remains viable. A dull sound or complete absence of movement suggests the water has evaporated or the coconut has spoiled.
Avoid using coconuts with visible cracks, soft spots beyond the eyes, or mold growth. Damaged shells compromise the interior, allowing bacterial contamination. Dispose of compromised fruit rather than attempting salvage.
How to Open a Coconut with a Spoon or Fork
While spoons and forks cannot initiate the cracking process, they excel at extracting flesh once the shell has been opened through another means. Understanding their proper role prevents frustration during the opening process.
After cracking the coconut using a knife, hammer, or impact method, insert the edge of a sturdy metal spoon into the crack between the shell and flesh. Apply leverage to separate the white meat from the brown inner surface. A fork works similarly, with tines gripping the flesh for more controlled extraction.
These utensils prove particularly useful for scraping thin layers of flesh from the inside of shell fragments. Rather than wasting small amounts of meat stuck to shell pieces, a spoon or fork scrapes clean with minimal effort.
When Spoon and Fork Methods Fall Short
Spoons and forks lack the necessary structural strength to crack through mature coconut shells directly. Attempting to drive a spoon through an uncracked shell typically results in bent utensils or hand strain without meaningful progress. Reserve these tools for the extraction phase after primary cracking has occurred.
Dedicated coconut opening kits exist that combine a draining tool, hammer, and scraper into a single purpose-built set. While effective, these kits remain optional since common household items perform the same functions adequately.
Quick and Clean Methods for Opening a Coconut
Several techniques balance speed with result quality, particularly useful when time is limited or presentation matters.
The hammer method combines accessibility with effectiveness. After draining, place the coconut on a towel to prevent rolling. Strike around the equator with moderate force, rotating the fruit with each impact. The towel absorbs some shock while keeping the coconut positioned. Cracks appear within a dozen strikes, and full separation typically follows within two minutes.
The oven method offers the cleanest outcome at the cost of additional time. Preheat the oven to 190°C (375°F). After draining, place the coconut on a baking sheet and heat for fifteen minutes. Shell cracks form naturally during thermal expansion, requiring only a gentle tap to complete separation. This technique eliminates the need for forceful striking entirely.
None of these methods reliably open coconuts without breaking the shell. Claims about cracking techniques that preserve the shell intact contradict the physics of coconut construction. The fibrous husk and hard inner shell resist separation only through fracture.
Understanding Coconut Types: Young vs Mature
Recognizing the distinction between coconut varieties shapes your entire approach to opening them. Each type demands different expectations and techniques.
Young coconuts display green exteriors and smooth, relatively thin inner shells. Their water content remains high—often exceeding half a liter—and the flesh remains gelatinous and minimal. Opening requires nothing more than piercing the eyes to drink directly or scooping soft meat with a spoon. These coconuts suit tropical drinks, desserts, and situations where water access matters more than flesh quantity.
Mature coconuts present brown, hairy exteriors with thick, rigid shells. Water content drops significantly, but the flesh thickens and becomes firm. These coconuts demand forceful cracking techniques to access the meat. The higher flesh yield makes them preferable for cooking applications, oil extraction, and situations requiring substantial coconut material.
Testing freshness applies to both types. Shake the coconut before opening. Audible liquid movement indicates freshness. Silence or an unusually light weight suggests the water has evaporated and the coconut may have aged beyond optimal condition.
Safety Tips for Opening Coconuts
The opening process involves sharp edges, flying fragments, and substantial force. Taking precautions protects both the user and the surrounding environment.
- Work on stable, non-slip surfaces to prevent the coconut from rolling during impact
- Fold towels beneath the coconut to absorb shock and keep it positioned
- Wear protective eyewear when cracking with hammers or striking methods
- Drain the water before applying force to reduce internal pressure
- Use blunt striking surfaces rather than sharp edges to prevent slipping
- Open outdoors when possible to contain shell debris
- Inspect coconuts before opening; avoid those with pre-existing cracks or damage
Forceful striking creates small shell fragments that travel unexpectedly. Eye protection eliminates the primary injury risk during aggressive opening methods. The combination of sharp edges and kinetic energy makes this the single most important safety consideration.
Pre-draining the coconut serves multiple purposes beyond convenience. Pressure buildup within sealed shells can cause explosive failures when penetrated, sending liquid and fragments in unpredictable directions. Releasing the water first eliminates this risk entirely.
Summary
Opening a coconut requires matching your tools and objectives to the specific type of fruit you have. Draining the water through the eyes remains the universal first step across all methods. Young coconuts open easily for drinking, while mature varieties demand more force to access their abundant flesh. Whether you work with a sharp knife in the kitchen, improvise with rocks outdoors, or use a hammer and screwdriver, the fundamental process stays consistent: pierce the eyes, drain the water, apply controlled force around the equator, and extract the meat.
Understanding coconut anatomy eliminates unnecessary frustration and wasted effort. The eyes provide reliable entry points regardless of your chosen method. Safety precautions—particularly eye protection and stable surfaces—protect against the only meaningful injury risks. Once opened, the coconut flesh stays fresh refrigerated for several days, providing time to incorporate it into recipes or enjoy it at leisure.
For those interested in expanding their tropical kitchen skills, learning to pair different coconut varieties with specific cooking applications unlocks new culinary possibilities. Proper storage techniques extend the usability of opened coconuts significantly. Alternatively, exploring which fruits pose challenges for household pets—like the questions surrounding whether dogs can safely consume certain nuts—demonstrates how food safety awareness spans multiple domains.
Frequently Asked Questions
How do you crack open a coconut without tools?
Drain the water through the eyes using a pointed rock, then strike the shell repeatedly against a hard surface like concrete or stone until cracks form. Wrapping the coconut in cloth helps contain fragments.
How do you crack a coconut?
After draining through the eyes, place the coconut cut-side down on a towel. Strike around the equator with the back of a knife or a hammer, rotating as you go, until the shell separates into halves.
How do you crack open a coconut?
Pierce the eyes to drain water first. Then apply force around the middle circumference using a knife, hammer, or hard surface impact until fractures develop. Separate the halves and scoop out the flesh.
Can you really open a coconut in 3 seconds?
No reliable method opens a coconut in three seconds without risking shell fragments in the flesh or uneven splits. Claims about such speed lack documented verification and contradict the physics of coconut construction.
What tools work best for opening coconuts?
A sharp cleaver or heavy knife provides the most control in kitchen settings. Screwdrivers serve well for draining through eyes. Hammers work effectively for forceful cracking. Dedicated coconut opener kits combine these functions but remain optional.
How do you open a coconut to drink its water?
For young coconuts, pierce the soft eyes and drink directly. For mature coconuts, drain the water through the eyes into a bowl, then strain through cheesecloth to remove shell debris before drinking.
What is the difference between young and mature coconuts?
Young coconuts have green shells, abundant water, and soft meat. Mature coconuts display brown, hairy shells with less water but thicker, more substantial flesh suitable for cooking.
How do you know if a coconut is fresh?
Shake the coconut before opening. Audible liquid sloshing indicates freshness. A dull sound or unusually light weight suggests the water has evaporated and the fruit may be past its prime.
Related stories





Adam Pryor is Managing Editor at StoryNative.uk, running the daily news list, the publishing schedule and newsroom workflow.